Sunday, April 7, 2013

New Floral Cards for Mother's Day and More!

I have two spring bazaars coming up next month, and am starting to panic just a little because I don't have my inventory stocked as well I as would like to yet!  I have been hard at work on some new cards, and though it's only a fraction of what I want to accomplish before the first sale on May 4, at least it's a start!  I wanted to share some of these new designs today.  I am not sure if any will be listed in my Etsy shop- I may list a few, but at the moment, I am missing the battery charger for my camera so can't take good-quality pictures of them until that is located.  These pictures were taken with my iPhone, so they are not as clear as mu usual pictures.  Anyway, these are not done yet- I have not done the inside lining yet, and will be adding sentiments to some of them, probably Happy Mother's Day. 

For these first two, I had a similar floral-patterned paper in pink and blue, and I made two different card designs with each.  I'm only showing one of each here, but I also made the other designs in the opposite colors.  This first one, the blue, is a new design- I used a sketch that I found on a blog called Freshly Made Sketches.  I really like the sketches on this site, because they have very clean lines and a general "uncluttered" look about them.  I am enjoying experimenting with some of the sketches I have found there.


The pink one is a design I have used before, pretty simple with just a layering of the patterned paper.  This floral pattern has what look like larkspur flowers, which I use a great deal in my pressed flower bookmarks, and I challenged myself to make some paper flowers that resemble them to embellish the card.  I used a Sizzix die to make these- I tell you, I have gotten a lot of use out of those!  You may remember them from way back when I did these poinsettia cards and used them.  They are only three petals each, but when layered, give a very similar look to the larkspur.  For the flower centers, I punched a small daisy in green and cut each petal in half lengthwise and cut away one half of each.  Then I curled each remaining petal half toward the center using a little quilling tool that came with an art set that my daughter got for Christmas.  It has come in pretty handy for me lately!  I then added some leaves punched from a MS rose leaf punch and embossed some veining on them with an embossing tool.  I think they came out pretty well!


This next one us kind of different- I used the same layout as on the blue card above, but used a very interesting butterfly pattern washi paper.  Love the colors in this one- silver, blue, teal and black, with a little splash of yellow.  I used a metallic silver as the backdrop for an embossed strip with butterflies and dragonflies (a new Sizzix embossing folder), the washi paper, and a layered punched butterfly.  I'm not totally in love with this one...I think I may experiment with adding something in the upper right, it just seems a little too empty to me.  Maybe a small sentiment there.

This next one is similar to one I did before, but I added a flower instead of just a bow.  I like the combination of soft green and pink on this washi paper.
 This one has my favorite washi paper ever, I think- I got this from a fellow Etsy seller who has a lovely shop full of pretty Japanese papers.  I now wish I had bought more of it- I only got one sheet, and now there is no more in her shop. :(  So I am making the most of what I do have!  This is my traditional design with a ribbon and flower.  I did the flower in a two-toned purple and red, and I like it on this card.
 
You've seen this design before- the only thing different is that I put two flowers on this time, just to mix things up a bit!
And finally, this one is another new washi paper.  I mentioned a couple of months ago that I had ordered some from two different Etsy sellers.  This is another one of those- I like the dark, dusky purple combined with the green.  The sentiment box is currently empty,but will have a "Happy Mother's Day" in it eventually.  I was testing out a new Spellbinder die that I got for the frame- I like it!  The flower, in hindsight, is a bit too big for this card, but it's from a punch that I got at Ross Dress For Less, of all places.  It is a 3-petal punch that embosses also, and I really wanted to try it out.
Like I said, I have a LOT more work to do before the first sale- I know what my weekends are going to be spent doing for the next couple of weeks!  I have so much that I *want* to do, but probably will not have time to do it all, so will have to prioritize.  I do plan to make a 4-sided graduation exploding box that I can display alongside the 8-sided one as a less expensive option- that is something I have been meaning to do for my Etsy shop anyway.  Probably need a few more bookmarks too, and will have to recruit my daughter to make some more little glass flower magnets that seemed so popular at the other sales.  So, when I have more to show, I'll be back!

Sunday, March 17, 2013

New Floral Bookmarks

 Made a few pressed flower bookmarks today!  They should look familiar- they are color schemes that have sold in the past, so why mess with a good thing?

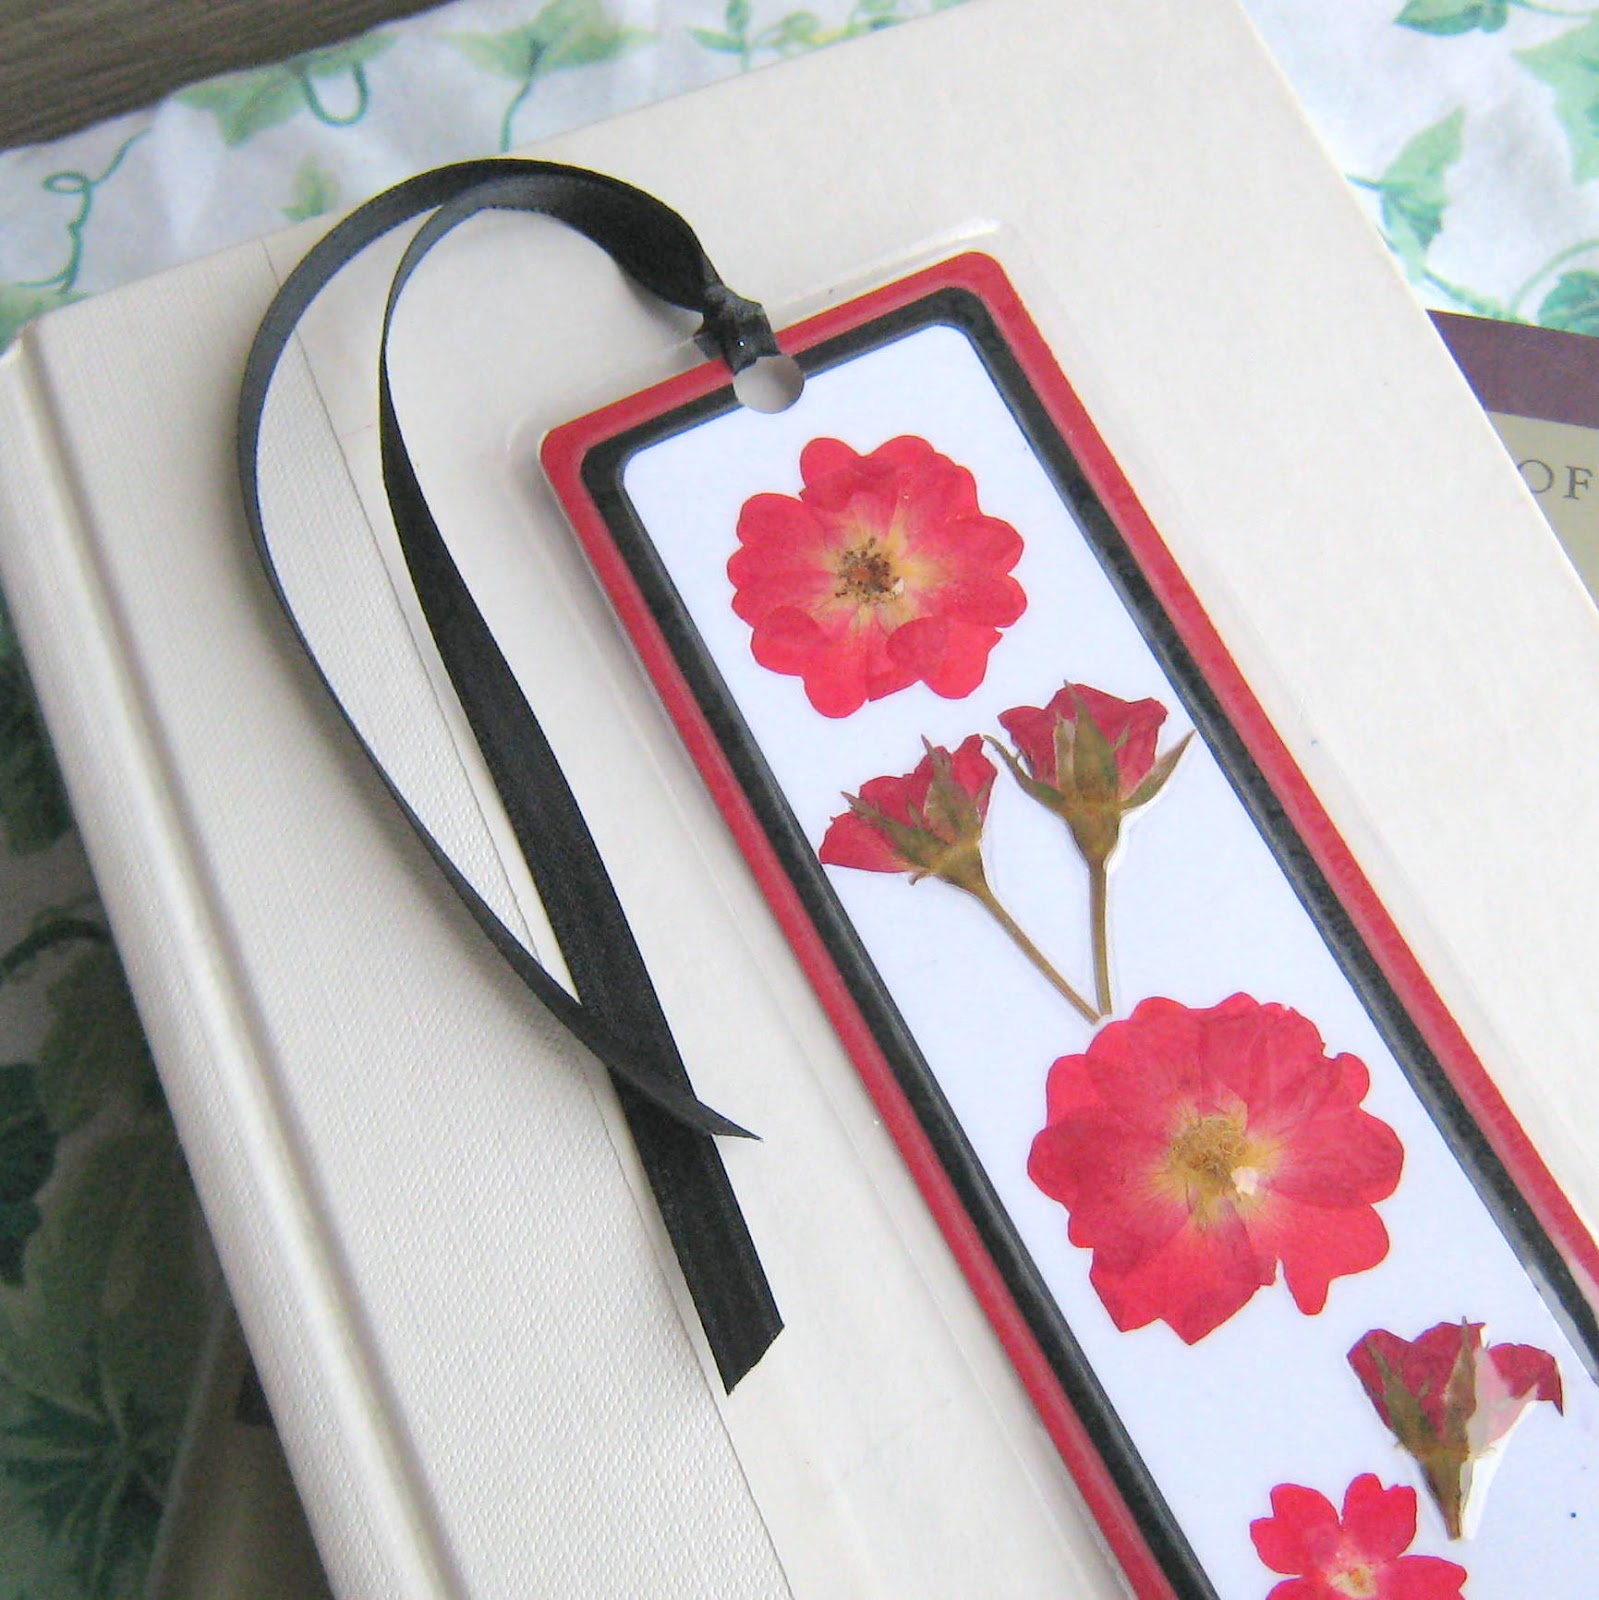
This red rose and rosebud design hasn't been in my shop for over a year, so I thought I would bring it back.

 
This tie-dye design is one I had in my shop a few months ago, and sold at one of the holiday craft bazaars that I did.

This blue and yellow design is one of my personal favorites!  Love these colors together.


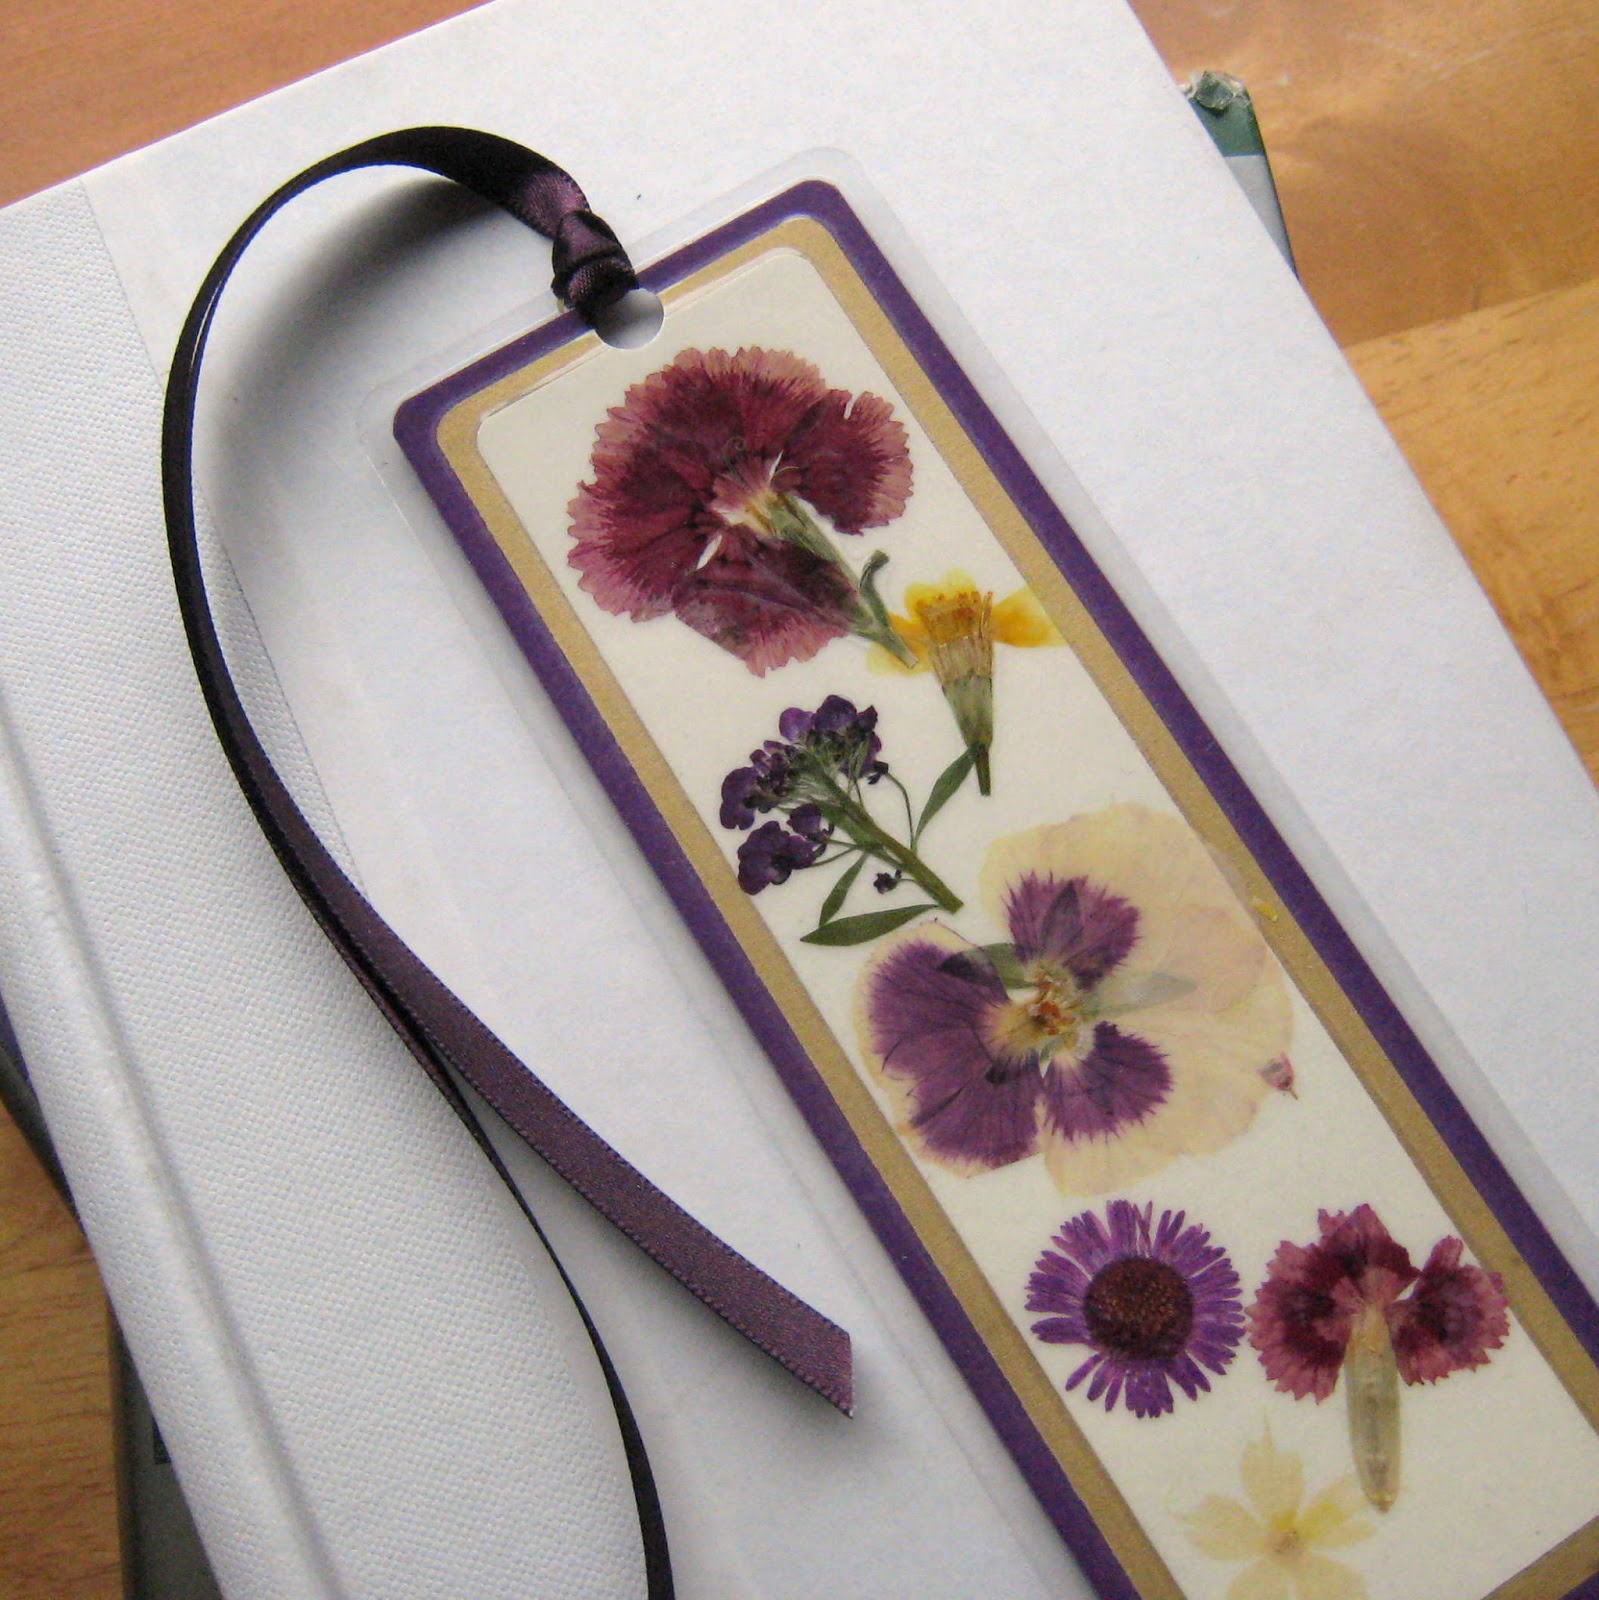
These purples are so pretty together!


This one is an oldie but a goodie!  This mixed verbena design was one of my very first wayyy back when I first started making bookmarks.  I haven't made it in a long time, so thought it was time  to give it another try.


And this dark and light pink design sold recently for the second or third time, and it always gets good views in my shop.  So here's the most recent!

Well, I have a pretty good start on my inventory for the Jane Austen Faire and Spring Salem Etsy Team sale in May!  I will be doing lots more bookmarks, more cards, and maybe a couple more exploding boxes.  Next weekend is the start of spring break, so I'll be back with more stuff after that!


Saturday, March 16, 2013

It's Finished! The Daisy Garden Exploding Box

Whew!  I'm so glad to have this one done!  It seemed like I had a lot of obstacles in completing this one, but it was totally worth it- I love how it came out!

I would like to note that all of the daisies in the pot are handmade, by me.  There are 13 daisies, to make a nice full bouquet.  I think it was worth all the work!

I'm really happy with how this one turned out.  Love the colors, and the combination of the daisies and butterflies is really sweet.

This one was really fun to make.  I have SOOOO many ideas for more exploding boxes!  I just found a great tutorial for paper tulips...I'm definitely mulling over what I can do with that!


Friday, March 15, 2013

Work in Progress- A New Exploding Box

Just wanted to do a quick sneak peek of my new exploding box- this one is daisy themed!


I have to note that the daisies in the little pot in the center are all handmade by me- yes, it is a lot of work, and I could probably buy some already made to use...but that would not be in line with the handmade mission.  I just can't bring myself to "cheat" that way!  I had fun with this one- check out the floating butterfly in the background!  I like how that part of it turned out in comparison to the last exploding box.  I haven't done the lid yet- need to get more paper to finish up, but I will do that this weekend.  Can't wait to get this one listed in my shop!

Other news- I have signed on to do a Jane Austen Faire on May 4th, so that should be fun!  I will need to have lots of floral-themed items for that, so I will be working on some new pressed flower bookmarks and more cards.  Also, our local Salem Etsy Team has scheduled our Spring sale for the following Saturday, May 11, so that is 2 sales in a week- I better get going on my inventory!  We have a new location for our sale so I hope it works out well- it's a beautiful space, we just have to get people in there to appreciate it!

More later when I finish this box, and have some new bookmarks to share!

Saturday, February 16, 2013

My Experimental Exploding Flower Garen Box

As I mentioned in my last post, I've had this idea floating around in my head for an exploding box that has flowers as the centerpiece.  When I first conceived the idea, my thought was to use a cardboard tube that has been cut down to size as the container for the flowers.  I figured I'd cover the outside with some pretty paper or something to make it more attractive and less, well, like a toilet paper tube.  Then I was browsing at Michaels the other week, and I stumbled upon some tiny clay plant pots that are the PERFECT size for this!  With a coupon, they weren't too expensive, so even though I'm just experimenting at this point, I sprang for them.

Anyway, let me back up.  Last year, for the Spring Etsy Team sale, I made an exploding box with a paper rose as the centerpiece.  I never got a picture of it because I made it at the last minute, and ended up selling it at the sale.  I always wanted to do more, but my method of making those paper roses was a bit of a pain.  I used a large flower punch that I had to cut sections out of and use several layers to create a 3-D flower.  I had seen that Sizzix and Spellbinders both had 3-D rose dies, and I finally decided to break down and get the Sizzix one.  Unfortunately, when I got it home, I found that the roses that it makes are tiny- much smaller than I had originally thought.  The largest size is maybe the size of a quarter in diameter, the smaller size is more like a nickel.  So I ended up getting the Spellbinder die, because that one is a bit larger.  But once I made some of those smaller roses, I started thinking of ways I could use them, and that's when I came up with the flower garden idea. I have lots of other flower punches and dies, so figured I have a variety of flower types I could use.  And then there was this idea: floating butterflies.  I cannot take credit for this idea at all, because I shamelessly stole it from my BFF Kendra.  Last year, she made an exploding box and used some thin strips of clear acetate to have "floating" objects in it.  I was thinking it was the graduation box for her nephew, but when I went back to look at the pictures she sent me, that wasn't it, so now I'm not sure which one it was.  In any case, I thought that was a very cool idea, and when I started thinking about a flower garden exploding box, the thought came to me to use that same floating object idea with butterflies.  I was able to find a roll of acetate at work, and "borrowed" some for my experiment.

So, here is the lid:

 The flower on top is the Spellbinder 3-D rose die.  I cut it out in an off-white card stock and inked it with 2 shades of purple ink and a sponge.  The leaves are cut with a Martha Stewart rose leaf punch.  The lacy squares are a new Spellbinder die, and they are perfect for exploding boxes- the largest one is 4 inches square, which is exactly what the boxes are.  I got it with the intention of using it for the sides of exploding boxes in the future, though on this box, I only used them on the lid.

I got a DCW paper pad a few weeks ago that I really like- it has lots of purples, greens and yellows, with some blues as well.  I really liked the paper I used on the sides, like you are looking head-on at a flower garden.

Above is a view of the box when it has been opened.  The outer layer is embellished with a layer of floral paper under some purple panels that have been dry embossed. This embossing folder is really cool- the craft store where I bought it had some sample cards that had been made with it, and I liked that you can emboss it with either side.  I actually used both here- in this picture the top and bottom panels have just the edges of the flowers raised, while the left and right panels have the petals themselves raised, and the edges depressed.  The middle layer is embellished with some flowers that I cut out with punches and used jewels for the centers.  The inside layer has the same paper that is on the outside.  Then, there is the center.
There's that adorable little clay pot I was talking about- isn't it cute?!  So, let me talk about the flowers for a minute.  There are two roses- the purple one in the front, which you can see the top of, and the yellow one behind it, which you can see from the side. These are the two Sizzix 3-D roses.  In the middle is a daisy that I made using a daisy punch. I used 3 layers and glued a tiny pompon in the center, which I colored yellow with some yellow stamp ink.  The purple daisy was cut out with a larger daisy punch, and I used a yellow button for its center.  The flowers are attached to pieces of green floral wire with the use of a hot glue gun.  Leaves were punched using two different MS punches and adhered to the flower stems.  The stems (wire) are stuck into a piece of Styrofoam that is in the pot, and covered with some crumpled green tissue paper.  I also put some tissue on the bottom of the box, surrounding the pot.  Then there is the butterfly, as well as a dragonfly, that seem to float above the flowers, on thin strips of clear acetate.  This part was challenging- I added these pieces last, and I really should have figured out where to put them before gluing down the plant pot.  Next time, I will make the flowers a bit shorter, so that the butterflies will be more prominent- as it is, they kind of blend in and aren't that noticeable.  My daughter, Meredith, thinks I should only have put one, but I kind of like having both of them there!

So, there it is- my vision finally brought to life!  There are things I will do differently in the future, and that's why it's good to make a few test products before finalizing the design and process.  I still need to work on my 3-D flowers- I don't entirely have the hang of making those roses yet, and need to come up with some different things to use for flower centers.  I am not all that fond of the button on that purple daisy, but was at a loss for something else to use.  The pompons I have are too small for that size, but perhaps the next size up will work.

Anyway, I like it, and I hope to do more with this concept!  I have more ideas for color schemes and designs, so it will be fun to see if they look as good outside of my head as they do inside it!


Saturday, February 9, 2013

Preparations for Spring, and the Much-Debated Return of the Graduation Exploding Box

Hello! Now that the Valentine rush is coming to a close, it is time for me to start looking ahead to Spring, and all of the fun things I want to make.  My brain is bursting with ideas, and the hardest part will be deciding which ones to go with, since I don't have time to do everything!  I have a neat idea for a flowery spring-themed exploding box card that will be kind of different, and I recently ordered a whole bunch of gorgeous new washi papers that I can't wait to turn in to beautiful cards.

In the meantime, I've been watching my shop stats, and noticed something interesting.  Remember the graduation exploding boxes (here and here) from last year?  One of those was a custom order that I sold at a craft sale, and the other was a custom order that was purchased through my Etsy shop, and even though that was 8 months ago, I continue to get several views on it each week.  I know that it was pinned on Pinterest, because I get some views that come from there, and others come from Google, so it must come up in searches there as well.  Yesterday, there were a record 8 views on it! I'm not sure what's going on that people are searching for graduation items in February, but since that seems to be the case, I figured that perhaps now would be a good time to renew the listing for custom made-to-order graduation exploding boxes.  Since listings last for 4 months on Etsy, the timing is just about right, since June is 4 months away.


 To be quite honest, I debated for quite some time about whether to again offer these boxes or not.  They definitely bring shoppers into my shop, since they are pretty unique, and that's always a good thing.  BUT.  I have to tell you...as cool as these boxes are, they are extremely labor-intensive and time-consuming to make.
 

Several months ago, I considered making a tutorial on how to create these boxes.  I started constructing one in order to take photos of each step of the process.  I ended up giving up halfway through, because the tutorial alone was so time-consuming.  That made me start to think long and hard about whether it was worth it or not to offer them for sale in my shop.  When I stopped to think about all of the time and labor that goes into making them, I realized that for what I had them priced, I don't even make minimum wage.

Now, I am not out to get rich by selling cards and bookmarks.  Since I've had my shop for nearly 3 years now, I have figured out that there is a pretty narrow market for those things anymore.  The digital age has given us e-cards and Kindles, and I've had more than one person comment on that fact at craft bazaars.  However, I think there are still those out there who like to give real cards, and /or who still like holding a real book in their hand when they read.  I am one of them, and I know I am not alone.  But the reality is that I do have to compete with those e-thingies, and I realize that I cannot charge enough for my items to turn a profit.  My shop is strictly a hobby shop- I like to make things, and I like to share them with others, and my shop allows me to do that while making a little bit of money to support my hobby.  Most of the time, I'm ok with that.  But not with these boxes.

Last year, when I first had the idea to make these, I had no idea what I was getting myself into.  I had made a couple of the 4-sided exploding boxes and just loved them, and as graduation season neared, I thought that one with a lid that looked like a graduation cap would be cute.  Then I thought...instead of square, wouldn't it be cool if the box was octagonal?  It would look more like a real graduation cap!  So Google and I found this wonderful tutorial on making an octagonal exploding box.  I do not know this nice lady, but I am grateful and indebted to her for her very good instructions on making a basic octagonal box.  I have since developed my own template for creating the layers, but hers was very helpful in the making of my first test box, upon which my own template is based.  The process of making these boxes is complicated.  Everything is cut and assembled by hand- die cutters are useless here.  There are three layers, each with 8 sides, the outer of which has to be embellished on both the back and front sides.  That is 32 panels to be embellished.  Multiply that by 2,which is the *mimimum* number of layers that each panel is embellished with, and you can see that that is A LOT of cutting!  Then there is adhering all of those embellishments to the base layers, and that's just the box base- then there's the cap lid.  What this amounts to, even after doing it several times and getting the process down to a science, is, at minimum, 3 to 4 hours of work.  If the box is personalized with names, logos, and/or other graphics, it adds even more time, plus printer ink to make those.
 
So, this is why I had to think long and hard about doing this again.  I love the fact that I have come up with a unique product that lots of people think is really cool.  I appreciate that having something like this in my shop brings in traffic.  But I can only give away so much of my time.  For something that is this labor-intensive and takes so much of my time, I feel that I should be adequately compensated.  I realize that raising the price may mean that I will lose some sales, and if that's the case, then I may make the decision to retire this product altogether.  But I ultimately decided that spending 20 cents to list it for 4 months was an inexpensive way to test the market....so, once again, I have listed the custom graduation exploding box in my shop.  Time will tell if it will be a good idea or not.

That said, I may also test a traditional 4-sided graduation exploding box, which takes far less time, labor and materials, and would be more affordable to purchase.  My BFF Kendra made one last year for her nephew, and it was gorgeous, and I've seen a few others out there on the internet, so while it's not exactly as unique as my octagonal one, it may do better in my shop, simply because it's less expensive.

Whew!  Well, I had no idea that that would be so long-winded!  But for some reason, I feel guilty for charging $30 for an exploding box, and felt the need to justify why I feel that I have to, just so that people don't think I am being greedy and/or unreasonable.  And if they still think that, even after this explanation, then I guess I would suggest to them that they attempt to make one themselves, and THEN tell me that my pricing is out of line!

Hopefully next time, I will have some new springy cards to share, because my fingers are itching to get into that new washi paper!

Monday, January 21, 2013

Valentine Sale!

So, I've shown pics of some of my new Valentine cards.  There are also some on Facebook  .  Now it's time to get serious!

I am offering a coupon in my shop for 15% off each purchase.  Just enter the coupon code BEMINE13 at checkout.  This offer is for a limited time only!  I will honor the coupon through Saturday, 1/26/13, which is just enough time to place your Valentine card order.  Don't wait too long!  Some designs are selling out!


Tuesday, January 15, 2013

Valentines, Valentines, Everywhere

Well, it is now one month before Valentine's Day, and the preparations on Etsy are in full swing already!  There are treasuries galore being made in Valentine themes, and I'm already getting lots of hits on my Valentine items!  I have lots of stock, and am listing a little bit each day.  Sadly, I did not sell any Valentine cards at the pre-Valentine bazaar I was at on Saturday, so I'm putting it all out there on my shop!  I have a mix of colors and patterns, and like last year, did quite a few masculine designs.  Here are some examples of some of the new cards:


Yep, that's an exploding box in there, and a never-ending card as well!  I had some fun making those for the bazaar, where they got some oohs and ahhs, but no buyers.  So, let's see how the Etsy shoppers like them!

I also replenished my pressed flower bookmark stock, as it was getting low.  Here are a few of the new ones:


I just started adding these to my shop, so if they are not in there yet, they will be soon.

After a few months of doing shows/bazaars every few weeks, I have NONE scheduled now, so will be taking a bit of a break from crafting!  Oh, I won't stop completely- there will be birthdays and the like that I will do cards for.  But the next big "thing" is Mother's Day, and thankfully that's 4 months away!  I plan to create some new stock for that, so will get started early, but not before taking a well-deserved break after the busy holiday season!

Monday, December 31, 2012

Happy (Almost) New Year!

Hello, and Happy New Year!  As it is New Year's Eve with only 5 hours and change to go until the actual "new" year, I refuse to feel like I am cheating when I say it. ;)

I have had a very busy holiday season, which explains my lack of posts for the past few weeks.  Personally, things were hectic with shopping and various kids activities, mostly holiday performances for band, choir and dance.  There was one week in there where we had a show to go to every single night of the week, and I thought I might lose my mind!  Also, after that last dismal holiday bazaar, I did two more, both of which turned out better than that first one.  One was totally last minute- it was a church bazaar very near my home, and I heard about it only 4 days before it was happening.  Thankfully they were able to squeeze me in, and I had a very nice time there.  I was able to get my booth placed next to a friend from the Salem Etsy Team, and it was great to have a buddy to chat with during the day.  Then we had our Salem Etsy Team holiday sale on December 15th, and it went pretty well too.  I made at least my booth fee back on both of these sales, but did better at the Etsy team sale.  After some reflection and contemplation, I really did learn a lot from the three sales I did this year.  The major one is that at the holidays, people don't want to buy handmade cards- they want to buy cheap cards in bulk from Wal-mart.  Looking back on the last year, I realize that the occasions when I have sold the most cards are the ones where people are buying a special card for a very specific person, such as lovers at Valentine's day, or moms for Mother's Day.  So, lesson learned!  I will not focus on volume production at the holidays, and focus more on producing fewer, high-quality cards, as well as bookmarks, which make great gifts.  And I'll be more prepared for those special occasions and holidays where people are looking for quality, unique cards to give to someone special.

Which brings me to Valentine's Day, 2013!  I am already preparing for this, as I have signed up for a pre-Valentine's Day sale on January 12th.  That is less than 2 weeks away now!  I have some cards made already, and have some additional designs in mind to make before the sale.  I am taking a cue from the sales last year in my Etsy shop and am focusing on cards in masculine colors and designs, but I plan to have something for everyone.  Here are a few examples:


You may recall that last year, I did a few masculine cards and was surprised by the interest and consequent sales of them!  I used some of the same designs this year, but also expanded to include new colors and patterns in the designs.  I made great use of a Sizzix asymmetric hearts die last year, and liked it a lot, but it was small.  This year, I found a new set of dies that have similar asymmetric nesting hearts but are larger, so have used those on the larger cards.  I also got a set of "primitive heart" dies by Sizzix, which is the tall, skinny nesting hearts you see on the last two cards.  They are really cute too!  There are actually 3 sizes, but on the smaller A2 size cards, I can only fit the smaller two.  I like being able to have a variety of styles and shapes.

I am excited about getting these new cards listed in my shop, and will be curious to see the response at the Valentine sale on the 12th.  This sale has about 57 vendors, most of which are corporate (Avon, Scentsy, etc.) with only a handful of handcrafters there.  There will be at least one other handmade paper crafter there, but hopefully our styles will be different enough that we won't be in direct competition. I do enjoy the sales and being able to meet and talk to customers, so I hope it will be fun regardless of the sales!

I hope to be back soon with more Valentine card designs, and an update about the sale on the 12th!

Sunday, November 11, 2012

New Holiday Cards

I have been busy with preparing for the big holiday bazaar, so haven't had much time to do anything else lately!  The bazaar was yesterday, and well...all I can say is, it was fun.  Not many buyers, and from what I hear, it wasn't just me.  It's hard not to take it personally though, when people cruise by your table without a glance, or else turn to look at the Velata table across the aisle instead (who doesn't love chocolate fondue, right?)  This was a BIG bazaar.  Over 100 vendors, and the largest I've ever done was the Salem Etsy Team spring sale last May, which had about 20.  So maybe I was out of my league?  I don't know.  But I did not sell much.  In fact, I felt invisible a lot of the time.  :(  I was in between a Celebrating  Home rep, who kept trying to promote her stuff to me, and a really eccentric gal who makes stuff out of recycled materials and has one of those personalities that she feels like your best friend 10 minutes after you've met.  She had a crowd in front of her booth most of the day.  I had lots of lookers, but few buyers.  I had lots of people say I have beautiful stuff.  I had several ladies stop by to talk "shop" with me- they make cards too, and wanted to know what materials I use, equipment, etc.  My favorite (not really) was the one who oohed and ahhed over my holiday card designs, and then told me that she plans to steal them for her own cards.  I honestly had no response to that at the time, and now, even 24 hours later, I still can't think of an appropriate one.  Then there was the lady who stopped by for a second, said to me "nice stuff", then to no one in particular as she walked away, "does anyone even send Christmas cards anymore?"

Sigh.

So, not a great day, yesterday.  I sold a total of 9 cards.  A few bookmarks, and a few packs of gift tags.  The items that got the most attention on my table?  The little glass magnets with pressed flowers glued on the undersides, priced at 50 cents each.  Sigh again.  On the upside, it was fun and interesting to be part of such a big event.  I'm trying very hard not to focus on the fact that I didn't sell enough to even cover my booth fees, and just take what I can from the experience.  There's always the next one.  Which, at this moment, is scheduled for December 15th, and will be another Salem Etsy Team sale.  Hopefully we will have the kind of traffic we had for the spring sale, and I might at least break even.

In the meantime, I made a ton of holiday cards that did not sell yesterday, so I have listed some in my Etsy shop.  We'll see how they do!  Here are some samples:


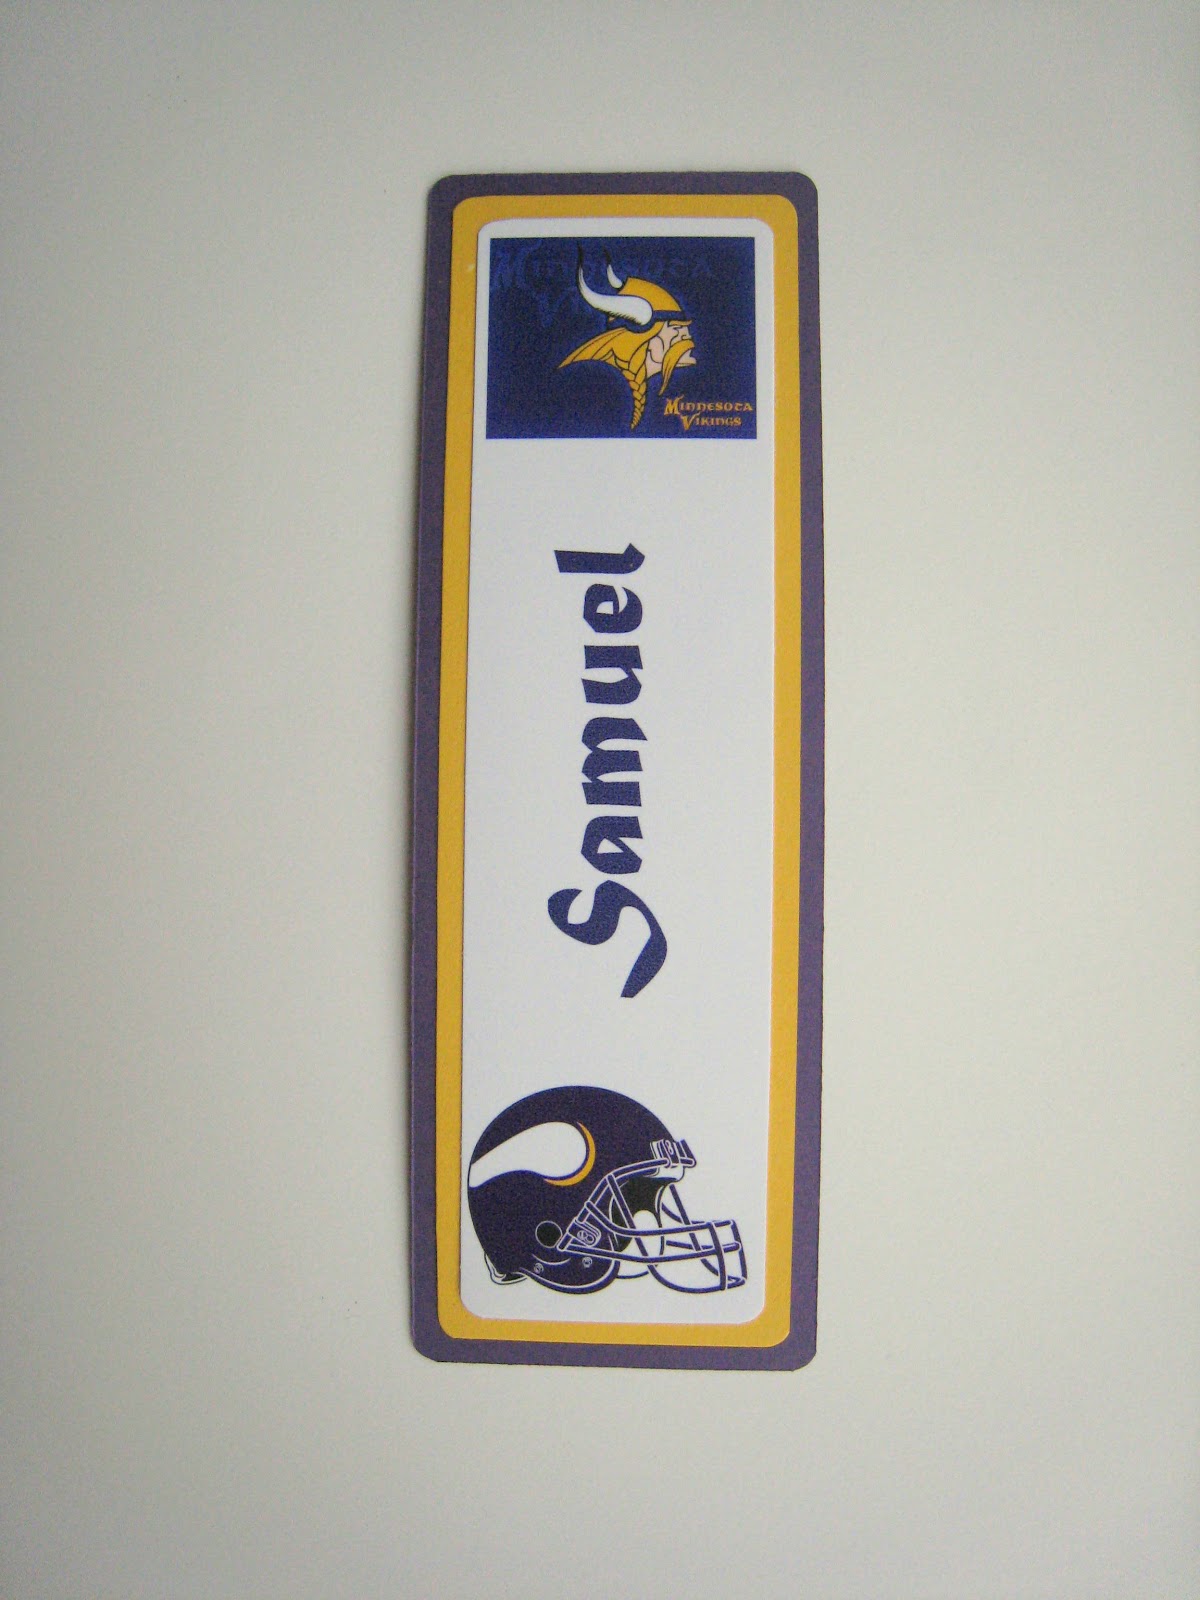
Between preparing for this bazaar, I also did a custom order.  This was for someone I know locally- her daughter has been in my son's class since they were in kindergarten, and they are juniors in high school now, so it's been a good number of years.  Where has the time gone?!  Anyway, she remembered that I made bookmarks from the home holiday sale I did a couple of years ago, and contacted me about doing some custom bookmarks for her sister's family.  They are big fans of the Minnesota Vikings, and she wanteds something to do with that.  Now, I normally would not do anything to infringe on a copyright or trademark.  I would certainly never list something in my shop that did.  But they sell stickers, paper, and more with team logos anymore, with the caveat that it is for "personal use".  `Which is pretty loosely defined, and since this was for an acquiaintance and I did not sell through my shop, I accomodated her request.  I also did not charge much- basically I covered my material costs and that was it.  So I refuse to feel guilty. ;)  I made 7 bookmarks in all, with different names on them.  They all had the same basic design, with just the name changed.


She loved what I came up with, so I was happy!  These were the proofs before I finalized them- they were laminated and topped with a purple ribbon.

Well, what I learned at the holiday bazaar is that it is good to have some low-ticket items on your table....so, make more little glass magnets, and also raise the price! We'll also do more gift tags, which I had only a few packs of yesterday, but sold pretty well.  We have our work cut out for us before December 15th!  I will try to post previews before then, so be sure to check back.